

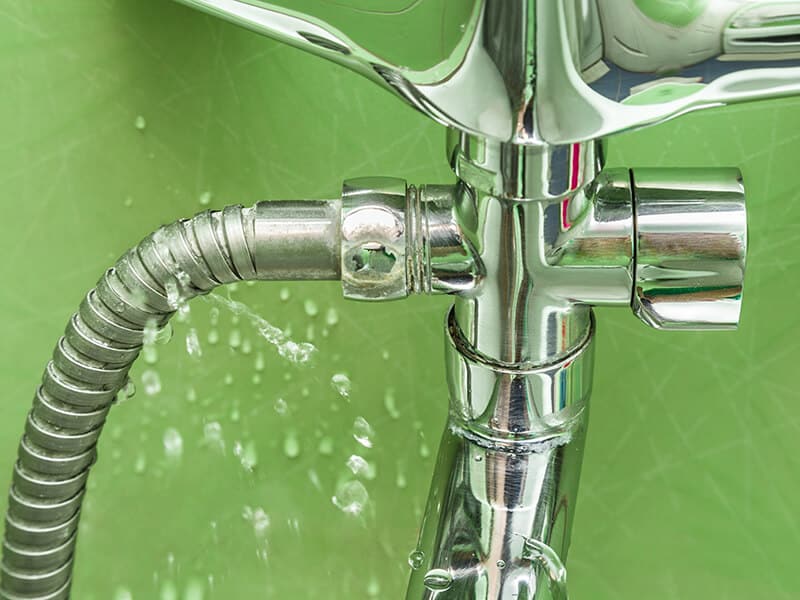
How Do I Repair A Leaky Faucet
The idea of learning how to fix a leaky shower faucet myself crossed my heed entirely by take a chance. That twenty-four hour period, I called in my local plumber to help me check out the leaks, but it took him forever to bear witness up.
Thereby, I did my research and picked upwards the tool. Fortunately, information technology was a roaring success. Afterwards the first effort, the annoying dripping has disappeared. I did not expect the job to be that effortless!
And indeed, I have to share with y'all the key to my success. In this post, y'all will learn about the roots of the issue, plus detailed instructions on how to repair a faucet that won't stop dripping. I won't keep y'all around whatsoever longer – let'south go!
General Guide On How To Repair A Leaky Shower Faucet
In that location are many reasons that pb to a leaky shower faucet, but more often than not, all you accept to exercise is swap its cartridge with a new i. The general guide on how to fix a leaky shower faucet includes the following steps:
- Turn off the water supply
- Remove the handle and faceplate
- Remove the locking prune
- Replace the cartridge
- Reassemble the parts
Sounds pretty easy, correct? I'thou positive that you will succeed on your kickoff attempt. Before you lot offset the handy piece of work, let's find out what causes your faucet to drip.
Why Does Information technology Keep Dripping?
I've been there. It is really frustrating to take a leaky faucet. Not only does your water bill increase drastically, only information technology'due south likewise a nuisance to see the water dripping relentlessly, leaving stains on the floor.
Nigh people pin the arraign on the pipage system, and if you think the same, sorry, wrong guess. The upshot is not that serious. Water faucet leakage happens mostly when something has been corroded or moved out of its position.
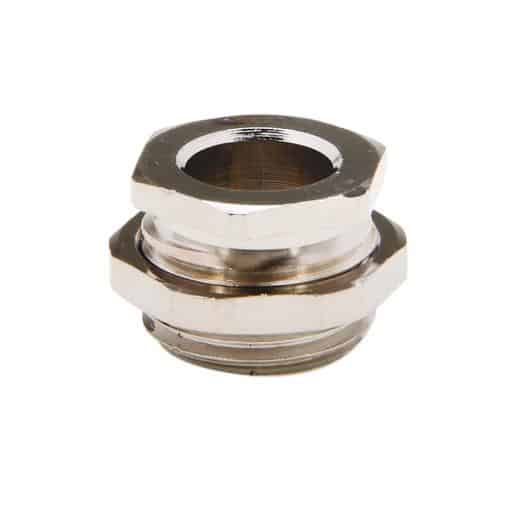
Loose Packing Nuts
If there's water around the packing nut, the chances are that the component is not properly fastened or has loosened over time. Typically, the packing nut is located below the handle, but yous tin expect to find it inside the handle as well.
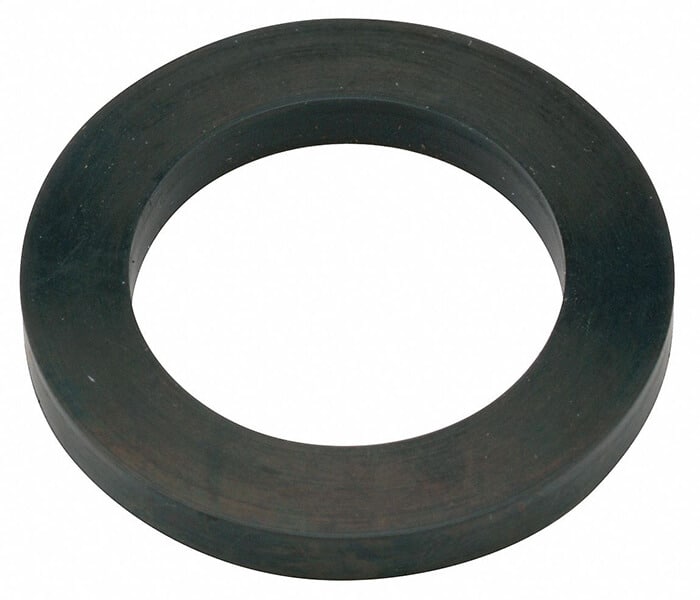
Washer Issues
The 2nd-most common cause of a leaking shower faucet lies in the washer. Its job is to provide a watertight seal to foreclose leaks. Therefore, if there's constant dripping, there's a loftier possibility that the washer has been worn out or damaged.
Even so, the issue doesn't terminate there. When the rubber or metal slice is not correctly installed or in the incorrect size, leaks will likewise occur. In add-on, some washers are more prone to damage merely because they are non of high quality.
Faulty O-Band
Located inside the faucet, an O-ring is a pocket-size disc responsible for holding the handle in place. Similar the washer, it tin article of clothing out gradually, causing leaks around the handle area.

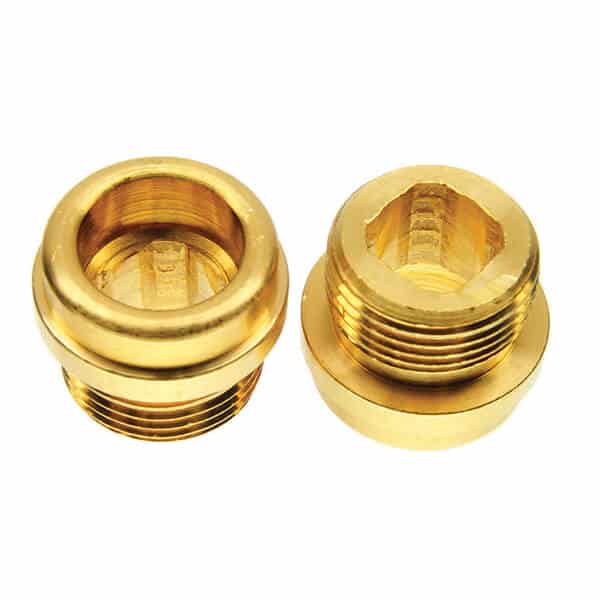
Corroded Valve Seat
A valve seat connects the spout with the faucet. Thus, if y'all notice water leaking from either office, in that location must be something incorrect with the valve seat, and the issue is mainly caused by mineral buildup.
Water Pressure Issues
Sometimes, a leaky shower faucet signals a more than significant trouble, such as ane that relates to the water pressure. In this example, you had better have a professional person plumber cheque the piping organisation.
Cleaved Or Loose Parts
Nothing stays the aforementioned forever, and neither do these hardware components. Over fourth dimension, they will exist loosened or, worse, damaged by hard water buildup. The problem can be fixed past replacing matching parts.
Resolve A Leaky Shower Faucet, Step By Footstep
It's indeed not fun to put upwardly with the continuous dripping sound; remainder assured. Therefore, you had improve begin the work and put this trouble to bed as soon as possible. Beneath is the general guide on how to repair a shower faucet that won't stop leaking.
General Guide
This guide applies to most shower faucet models on the market, then it volition probable piece of work with your shower faucet.
Tools Required
- Screwdriver or Allen wrench
- Pliers
- Wrench or cartridge puller
- New cartridge
Process
Step ane: Deactivate the water supply.
Step 2: Remove the handle with an Allen wrench. For handles that come with a cap, pry information technology off and unscrew the screw beneath.
Step iii: Separate the faceplate from the wall by removing the two screws.
Pace 4: Virtually shower valves accept a clip to keep the cartridge in place. Carefully lift it out if you lot run across ane.
Step v: Extract the cartridge with a wrench. Some cartridges must be pulled out using a cartridge puller, a specialized tool for this job.
Pace half dozen: Inspect other parts and replace if needed. Reassemble the parts and check your work.
In-Depth Guide
To speed up the process, I've categorized the types of shower faucets into two classes. The first class will be a full general guide, while the second one will show you how to repair three types of shower faucets manufactured by Delta, Moen, and Pfister.
According To The Number Of Handles
In this section, yous'll be dealing with two types of handles: the unmarried and the 2-handle shower faucet. Overall, there isn't a earth of difference between their repair procedures.
Single-Handle Faucets
Equally the name suggests, this faucet comes with merely i handle. It is more popular than the two-handle variant since it is more straightforward to install and utilize. To end the leaks, all you lot have to do is supersede the old shower valve cartridge.
Tools Required
- Screwdriver
- Pliers
- Cartridge puller (optional)
Process
Footstep 1: Shut off the h2o supply.
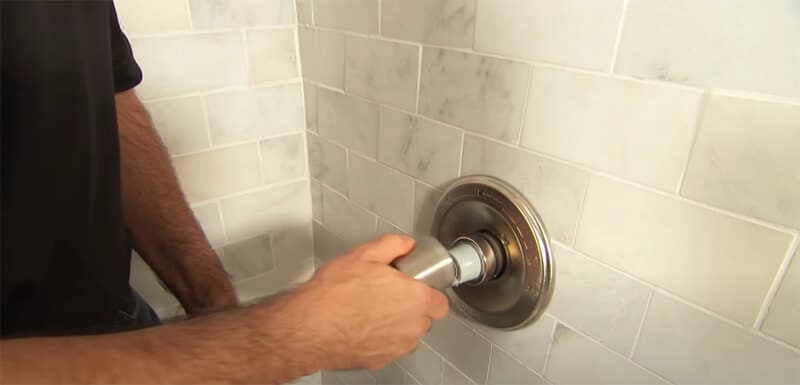
Step 2: Locate the set spiral on the fixture. Unscrew it and remove the handle.
Footstep iii: Continue removing the two screws that hold the escutcheon plate.
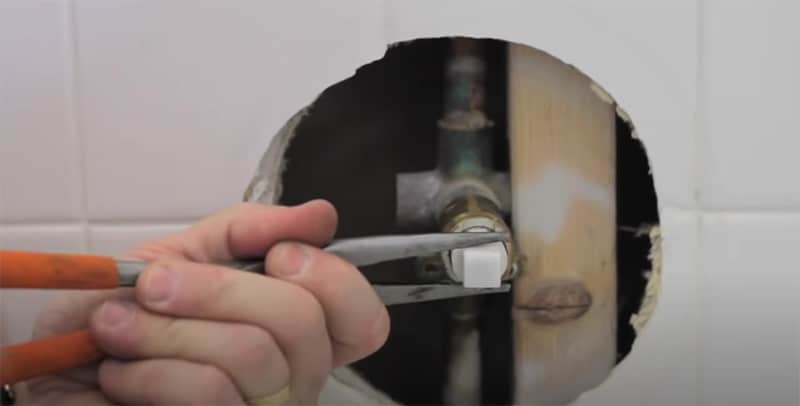
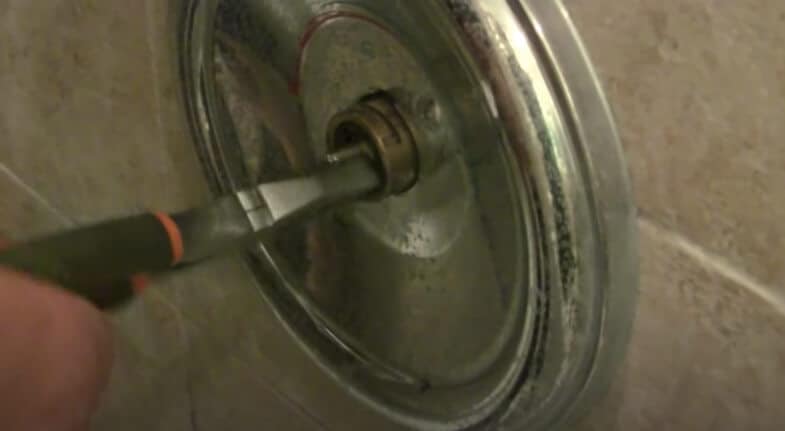
Footstep 4: You volition see a pocket-size clip that holds the cartridge in identify. Pry it off and continue it somewhere safe.
Step 5: Remove the washer.
Step 6: Pull out the cartridge using pliers. Usually, manufacturers volition supply a cap that helps you with this chore. Should you lot lose it, the only solution left is to remove it using a cartridge puller. Make sure to find the one that matches your faucet's brand.
Step seven: Bring the former cartridge to the abode improvement store and buy a new i. Information technology should be the same model.
Step 8: With the new cartridge, reassemble the faucet as y'all take it apart. Turn on the water supply and bank check for leaks.
Notation: This method works for both the pull-out and turn-effectually valve.
Scout this video to know more:
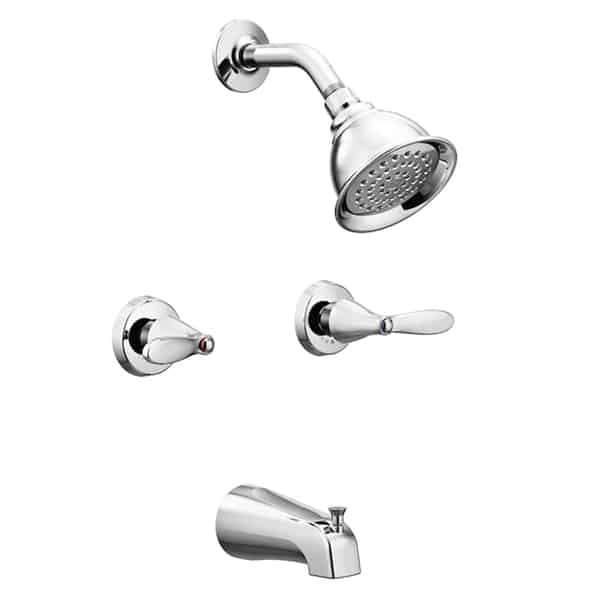
Two-Handle Faucets
Also known as a double-handle or stem faucet, a two-handle faucet is a stylish add-on to your bath. 1 major benefit of this type of faucet is that when leaks occur to a valve, you lot nonetheless have access to the other with no problem.
Tools Required
- Screwdriver
- Plumber's deep socket
- Plumber's grease
- Petroleum jelly
- Faucet puller (optional)
- Pocket-size knife (optional)
Process
Pace one: Similarly, you lot will brainstorm past turning off the water valve.
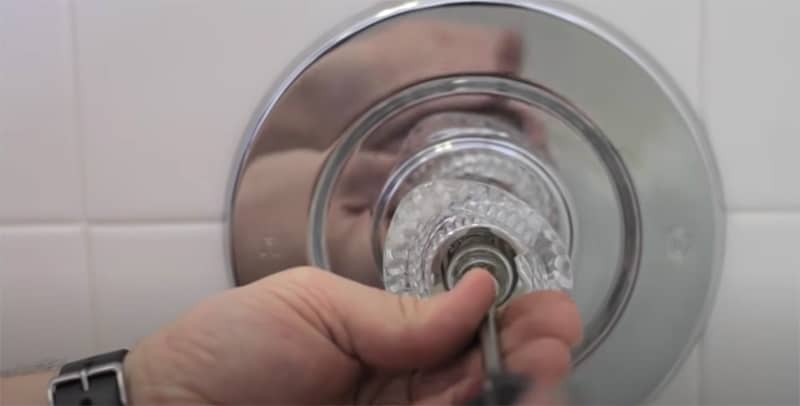
Step 2: Remove the decorative cap, exposing the screw underneath. Y'all can excerpt most caps past turning them, simply for embedded ones, y'all will have to pry them open with a small knife or screwdriver.
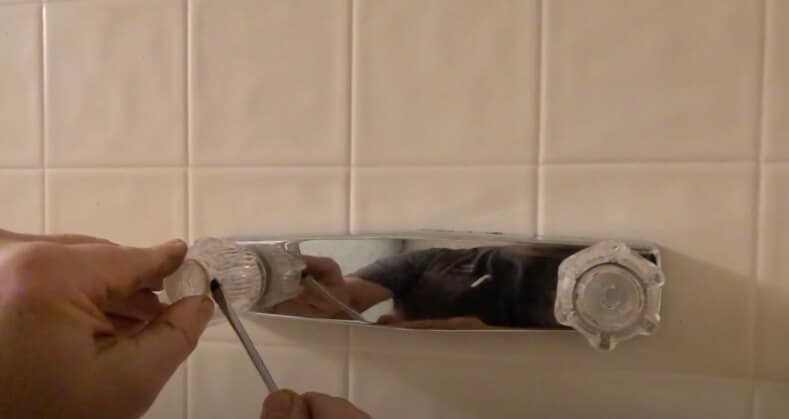
Step 3: Remove the spiral and pull out the handle. You lot will accept to wriggle information technology slightly to get it out. If it'southward stuck, turn to a faucet pullet for help.
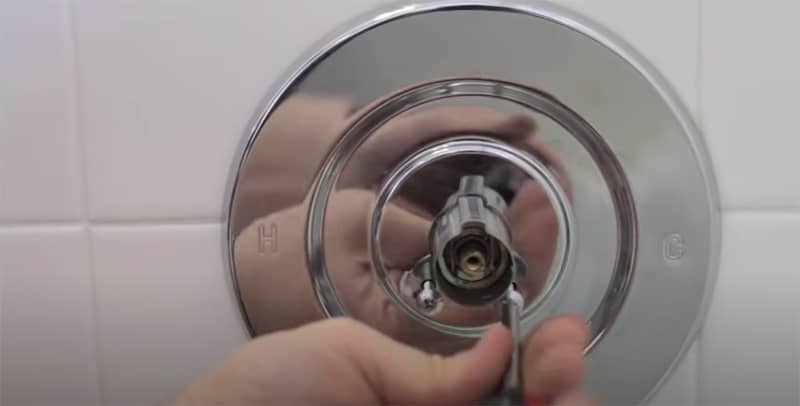
Step 4: Upon removing the faucet, yous will run into the stem. In near cases, you can separate the component by turning it counterclockwise. If your paw forcefulness is not enough, you will accept to utilise a plumber'due south deep socket.
Note: Grease the nut to brand the job easier.
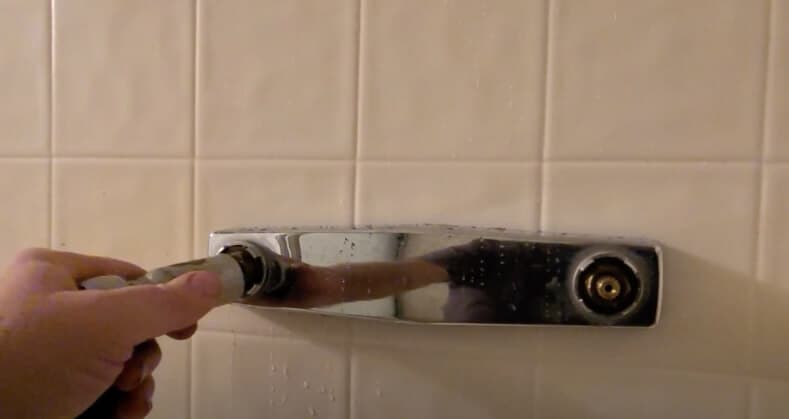
Step 5: Inspect the stem and other parts of it. As mentioned above, the washer is usually the reason why your faucet drips non-stop. If the washer shows visible signs of damage or is worn out, replace it. Lightly coat the new washer with petroleum jelly before reinstalling.
Notation: If most parts are damaged, I propose purchasing a new stalk. Information technology does non toll much and is less tricky for you.
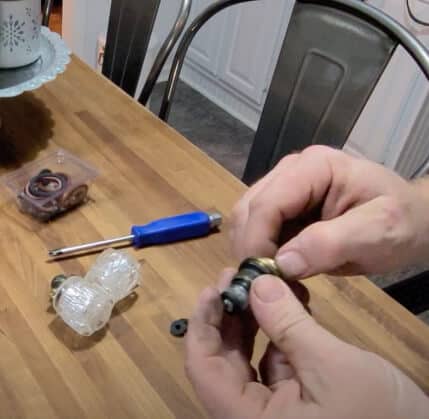
Step six: At present that you lot have replaced the washer, it's time to put everything back into identify. Y'all will reinsert the stem, followed by the handle, and finally, the cap. Ensure that everything is tightened and so that water won't come out.
Footstep 7: Actuate the water supply and see whether h2o still comes out of the faucet. If it does non, you have successfully finished the work!
Watch this video to know more:
According To The Manufacturer
Moving on to this section, I'll guide you through how to repair leaky shower faucets from Delta, Moen, and Pfister. Notation that the solution volition apply to nigh models but non all.
If your warranty is however valid, your all-time option is to contact customer service to have the faucet repaired.
And how do you know what make of shower faucet you lot are using? Peek at the symbol written on the plate behind the handle. If it's an Yard, the faucet is a production from Moen. If information technology's Delta or Pfister, yous will run into the total name on information technology.
Delta Faucets
Most Delta shower valves are relatively straightforward to remove, so you lot should non be worried. A screwdriver and an Allen wrench are only what you need – yeah, no joke!
Tools Required
- Screwdriver or Allen wrench
- New cartridge
Process
Pace one: Pry the cap off and remove the knob or handle by turning the screw using a screwdriver or an Allen wrench, respectively.
Step two: The plate is fixed to the wall by 2 screws. Unscrew them and accept the plate out.
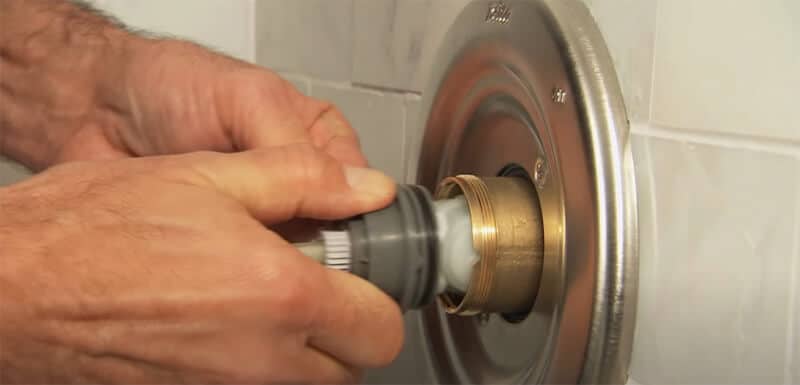
Footstep 3: Remove the sleeve by manus and the brass bonnet with a pair of pliers, turning it counterclockwise. Pulling information technology out by hand is also possible.
Footstep four: Extract the cartridge. Suppose it refuses to come out, wiggle until it starts to loosen.
Stride 5: Finish by the nearest hardware store and purchase a new cartridge. It should be the aforementioned model every bit the one-time one.
Step 6: Insert the new cartridge. Ensure that its rotational limit is adjusted equally stated by the instructions.
Step 7: Return everything to its original position. Start with the brass bonnet, followed by the plate, and finally the outside sleeve. Think that everything has to be tightened. Otherwise, yous'll be dealing with leaks once again soon.
Step viii: Open the water valve and check whether everything'due south dorsum to normal. I'chiliad sure that there are no more than leaks by now.
Sentry this video to know more:
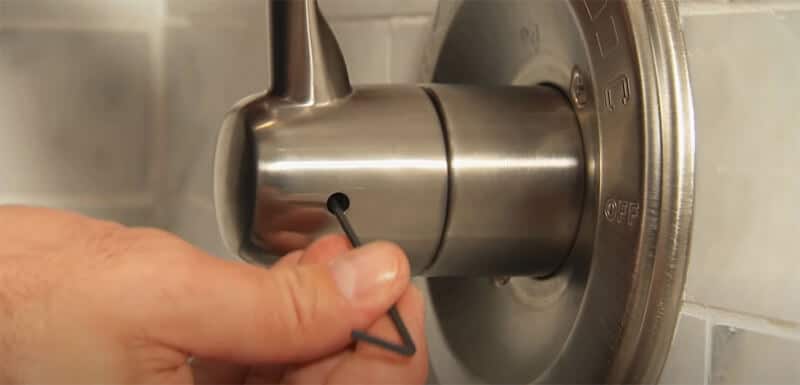
Moen Faucets
Overall, removing a Moen cartridge is challenging for beginners, particularly if you lot don't take the correct tool. Don't fret – you lot but need a little patience to pull this off.
Tools Required
- Screwdriver or Allen wrench
- Pliers
- New cartridge
- Removal tool (commonly included with the new cartridge)
Process
Step i: Again, turn off the water supply before getting started.
Step 2: Remove the cap to uncover a screw underneath. Unscrew it to extract the handle or the knob. If information technology'south the handle blazon, unscrew by an Allen wrench.
Pace 3: Pull the stop tube out.
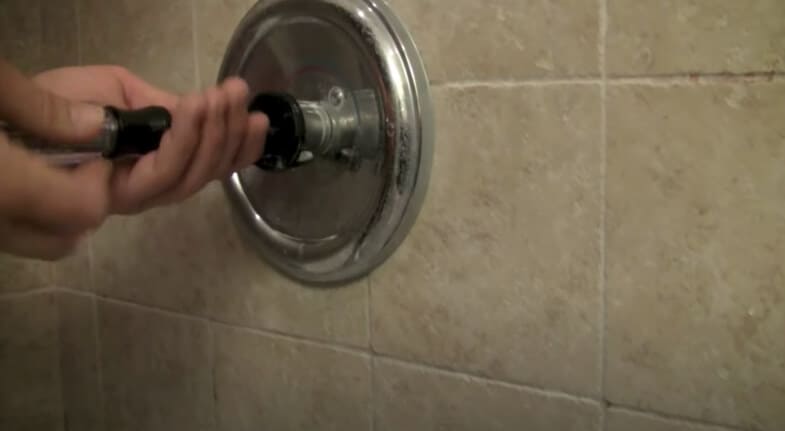
Step 4: Continue unscrewing the two screws of the escutcheon plate.
Step 5: At this stage, you should encounter a modest retainer clip. Its job is to foreclose the cartridge from popping out of the hole when the h2o pressure increases. To remove the clip, use a pair of pliers and carefully pull information technology out.
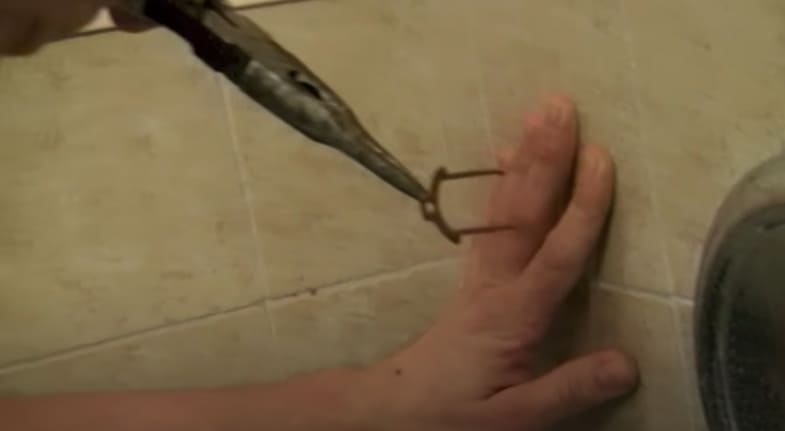
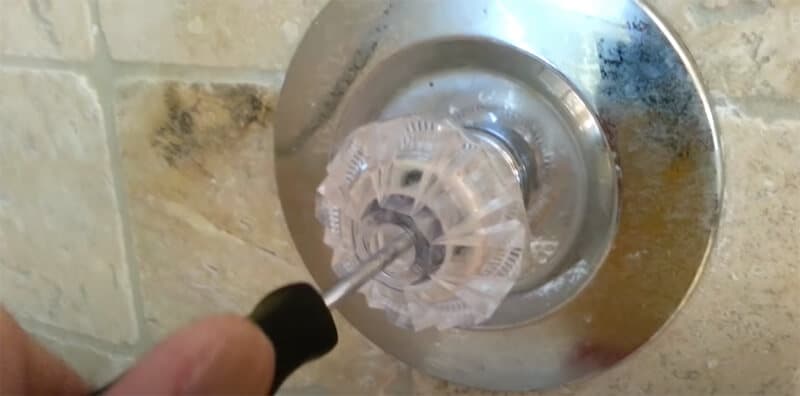
Pace five: Pull the cartridge out carefully using pliers. If it resists, jerk it.
When you purchase the new cartridge, the package will include a special tool fabricated of white plastic. Slide the tool into the shaft until it secures a connection with the cartridge. Separate the cartridge slowly, turning the part dorsum and forth until it is released.
Annotation: You can buy this tool as a separate part, and it can be made of metal as well.
Step half dozen: Install the new cartridge into the hole using the aforementioned plastic tool. Slide the retainer clip back to its place. If it doesn't seem to fit, there'due south a high chance that the cartridge is non seated as it should. Adjust with the tool until everything's in harmony.
Step seven: Reinstall the faucet in reverse order. Every part should be adequately tightened, but not too tight.
Stride 8: Examination your work. If there's no more water coming out of the faucet, congratulations!
Watch this video to know more:
Pfister Faucets
Fixing a leaky Cost Pfister (at present Pfister) faucet is no daunting job. I'll prove you how to exercise it right now!
Tools Required
- Screwdriver or Allen wrench
- New cartridge
Process
Pace 1: Don't forget to deactivate the h2o supply first.
Step ii: Most Pfister faucet handles can be removed by mitt with ease. You can twist the handle in an anticlockwise motion, and information technology will come up off in no time. Some feature a screw at the bottom of or underneath the handle. Loosen it with an Allen wrench.
If it'south the knob variant, extract the plastic cap and unscrew the screw in the middle.
Step iii: Similar to other types of faucets, you will remove the plate next as well by turning the screws counterclockwise. Keep unscrewing the sleeve.
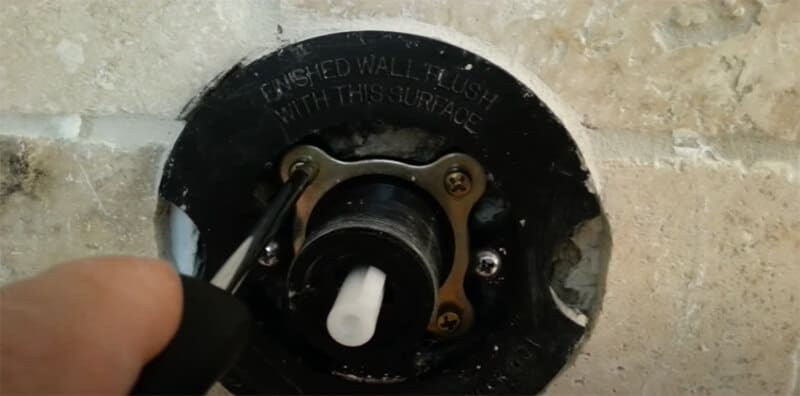
Step 4: The cartridge is retained by a flange with four screws. Unscrew them, and pull the cartridge out.
Stride 5: Bring in the new cartridge and fasten the flange.
Step 6: Plough on the water valve. Are there still leaks coming out of the faucet? If non, yous take made it!
Watch this video to know more:
Advice On Fixing A Leaky Shower Faucet
You volition wish that you know these practical pieces of advice sooner! Notwithstanding, it'southward not too late at present. Keep reading and be amazed!
- Optimize your time: Since the main water is close off while you're repairing the faucet, it's essential that you keep all the tools and instructions nearby to save time. Check the manual guide and buy all the replacement parts beforehand.
- Avert losing the components: You lot don't desire any component to fall downwardly the drain equally you're working. Comprehend it with a cloth rag. Plus, go along the small parts in a container until you put them dorsum.
- Employ heat for stuck parts: yous can blow a hairdryer on high if any parts turn down to come up off. Lubricants similar WD-xl volition also piece of work.
- Inspect the leak source: For two-handle faucets, you volition need to make up one's mind which faucet is leaking. Is the leaking water hot or cold? Feel it, and yous volition accept the answer.
- Go out the damaged parts: Mainly, the culprit of a leaky faucet lies in the cartridge. Nevertheless, if the cartridge is even so in good shape or has but been replaced recently, you will need to audit and replace other elements if they appear to be faulty.
- Forbid future leaks: It'due south vital to spike all the parts. I'm certain that you lot don't want to bargain with these leaks any longer, practise you lot?
Sometimes, the cartridge is not entirely to blame. If y'all have strictly follow my guide only the faucet still leaks, you may want to attempt these tricks:
- Clean your showerhead with vinegar and an old brush
- Replace the washer in the showerhead
- Inspect the diverter valve
FAQs
You lot've got questions, and I've got the answers – no thing how tricky they are. Don't skip the next section if you are still pretty much confused with how to repair your shower faucet.
Act Fast Or It Gets Worse
Well, that's all you have got to know nearly how to fix a leaky shower faucet, my friend. With articulate instructions and illustrations provided, I'm optimistic that yous can do it right away. The quicker you resolve the issue, the less trouble you will face up.
Besides the loftier water bills, a leaky faucet volition too effect in rust stains. When the drip goes on for months, your bath fixtures are certain to suffer from wear and tear. Additionally, y'all'll exist exposed to other hygiene-related risks, such equally mold or mildew.
Therefore, it's important to take prompt action when you have a leaky faucet. Assuming that you accept further questions, feel costless to state your problems in the comment section, and I'll reply as quickly equally possible. Have a nice day!

How Do I Repair A Leaky Faucet,
Source: https://www.archfoundation.org/fix-leaky-shower-faucet/
Posted by: beaudinspeausell.blogspot.com
0 Response to "How Do I Repair A Leaky Faucet"
Post a Comment